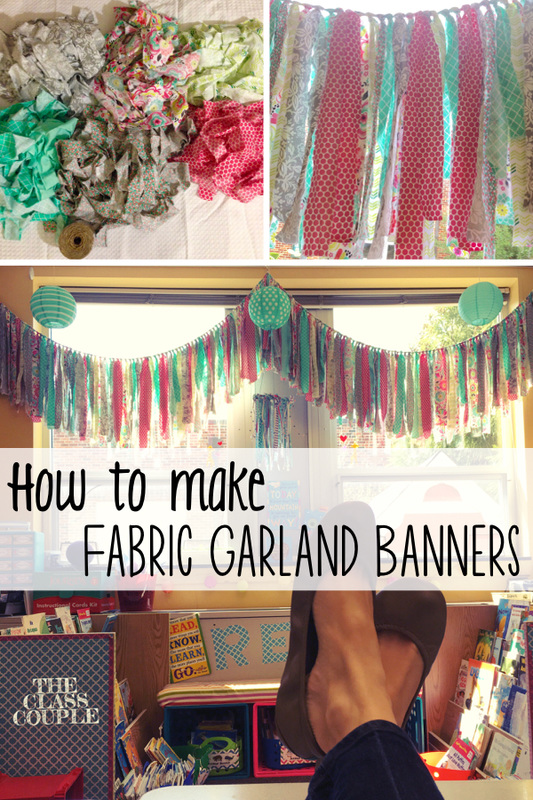
The reading area is by far my most favorite spot in my classroom. When I wanted to dress it up and make it even more inviting, I decided that a fabric garland would give it the perfect touch! I soon became addicted to making these banners, and noticed that everyone I shared them with loved them too. So, after receiving many questions about how I made them, I decided to make a tutorial and share the love of garland banners with everyone. Oh, and by the way, fabric garlands aren't just for the classroom, so read on!
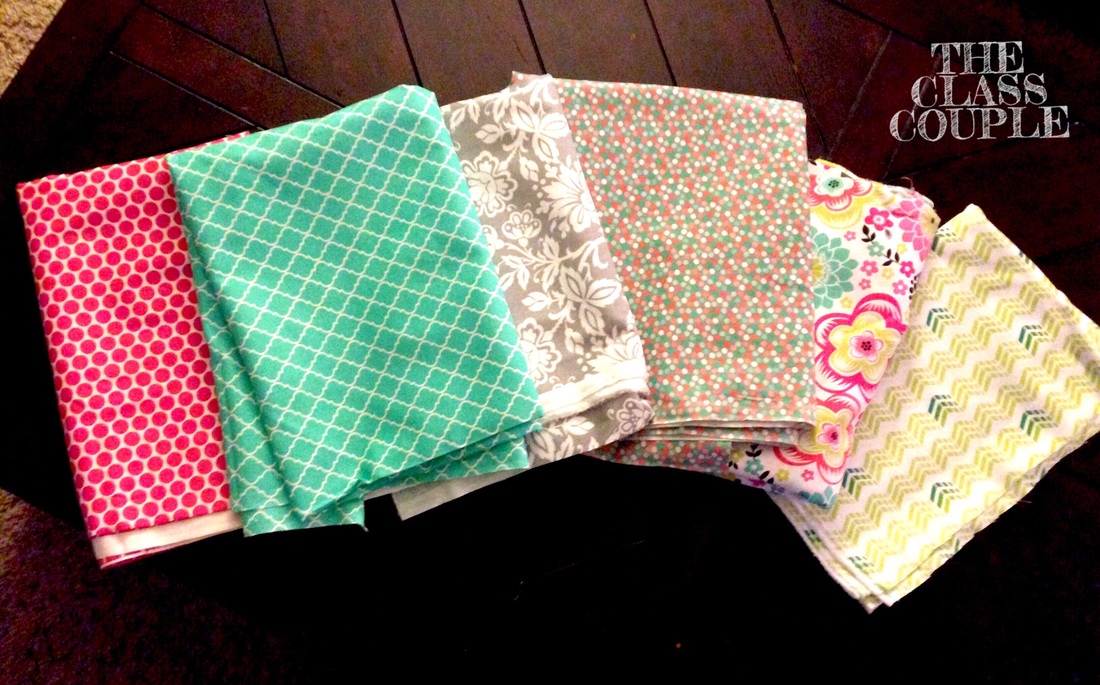
Step 1: Find your Fabric & Materials
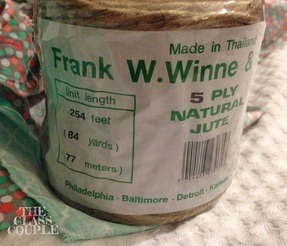
The width of your windows will determine how much fabric you will need. The width of my windows was 12 feet, so I knew it would be a large garland. Because of this, I thought 6 different fabrics would be the perfect amount to add variation in the curtain. I also did not get the same amount for each fabric, due to what they had left of the fabrics. I got 2 yards for 4 of the patterns, and 1.5 yards for 2 of the patterns. This was JUST enough with no fabric strips left to spare, so I would say a good rule of thumb would be to get one yard of fabric per foot. My fabrics were from JoAnn Fabrics. (Don't forget that teachers get a discount!) You will also need to find some heavy twine/jute. You can take a look at what I used. The best deal I found for the jute was at A.C. Moore with a 50% off coupon.
|
|
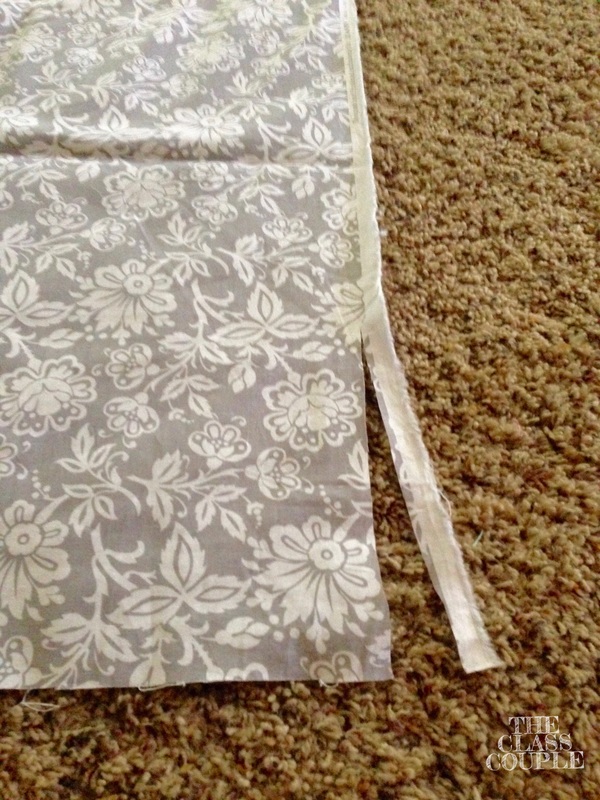
Step 2: Prep Your Fabric
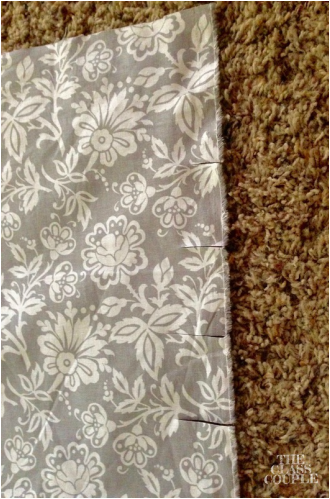
Cut off the white edge of the fabric. Then, cut small slits in your fabric. They can be spaced apart in whatever width you would like your strips to be. Mine ranged from 1 to 2 inches apart.
*Note: Because my windows are tall, I did not need to cut my fabric to make it shorter. However, if you have shorter windows, you may need to cut your fabric to a smaller width before cutting the small slits.
*Note: Because my windows are tall, I did not need to cut my fabric to make it shorter. However, if you have shorter windows, you may need to cut your fabric to a smaller width before cutting the small slits.
|
|
Step 3: Tear Away!
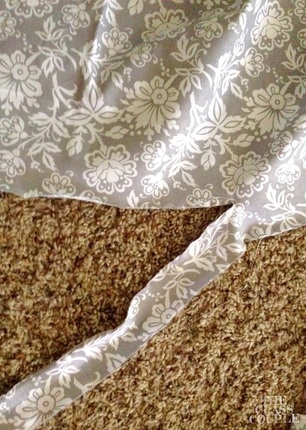
Grab ahold of the strip you cut, and pull it down the width of the fabric. The strips won't be exactly the same width, and they will fray, but that's the beauty of the fabric garland: perfectly imperfect!
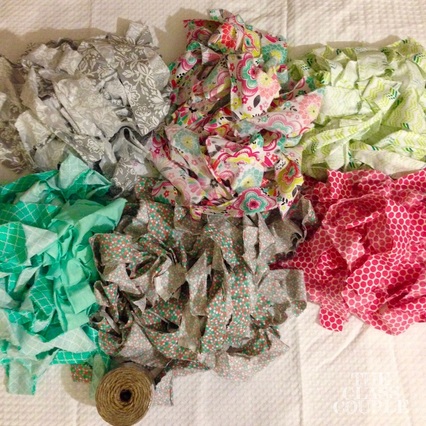
Warning: This step will result in high amounts of fringes! Just make a pile and see how big it can get!
Warning: This step will result in high amounts of fringes! Just make a pile and see how big it can get!
|
|
Don't forget to admire the prettiness of all the colors!
Step 4: Measure Jute
Now you will have to decide how you want your curtain/garland to hang. I wanted mine to sway down and come up in the middle, so I knew I would need to make it a little longer than 12 feet wide. I decided to cut my jute 20 feet long, keeping in mind that I wanted to have plenty of space at the ends for knots to hang the curtain. (Always measure longer than you think you will need, so you don't run out of twine.) Once I had my 20 feet measured, I folded the jute in half and marked the 10 foot point with painter's tape. This was my middle starting point. I started tying knots in the middle and worked my way out to the ends. This helped me keep the curtain even. I also placed tape marks around the 3 feet mark. I stopped close to these points so I had enough room to tie the knots at the end. I also wasn't exactly sure how it would hang until I got to my classroom, so I wanted to allow for some wiggle room with the length of jute.
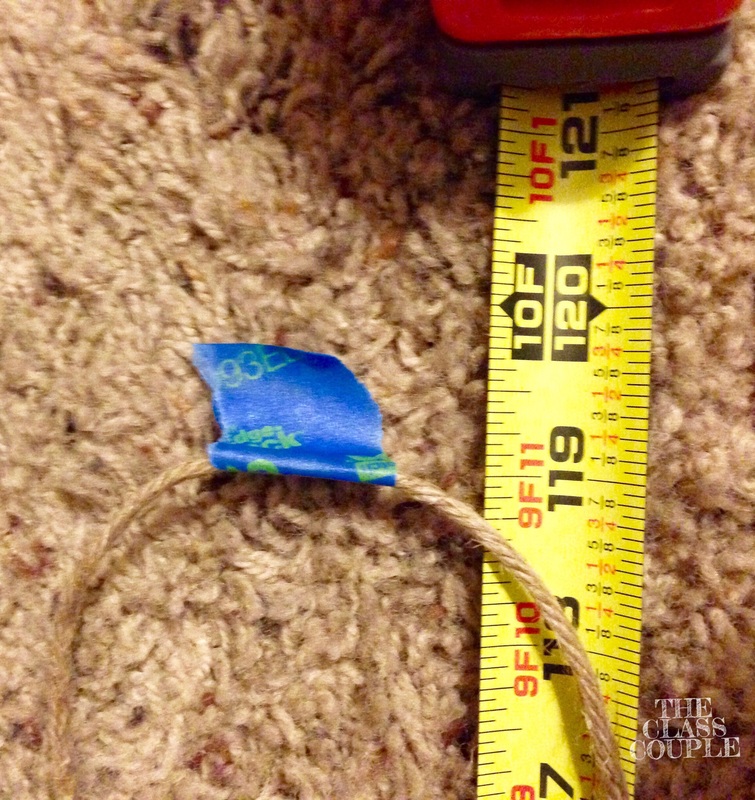
Tape the middle for a starting point.
|
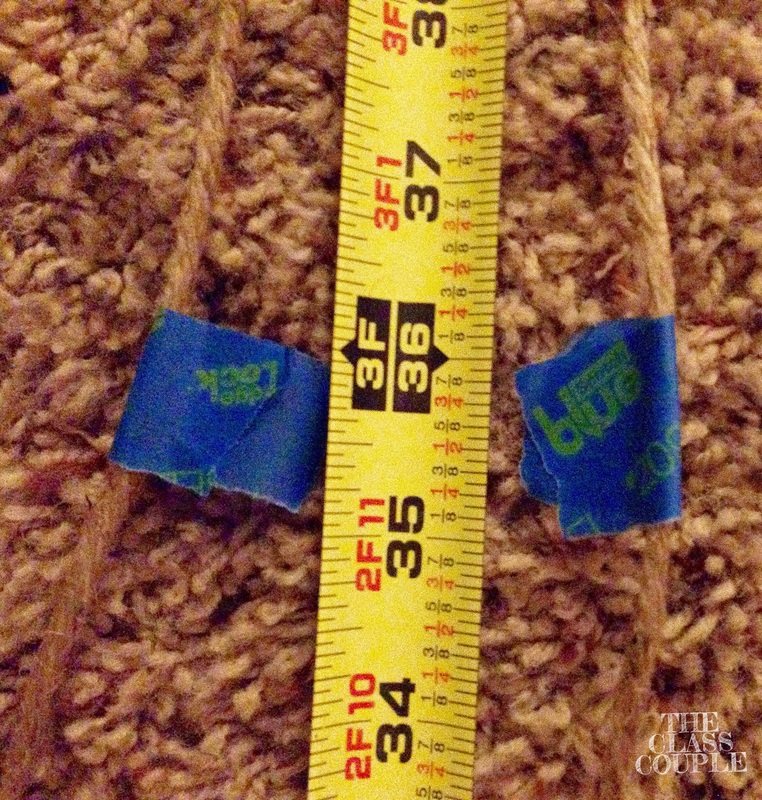
Tape the ends to allow room for the knots.
|
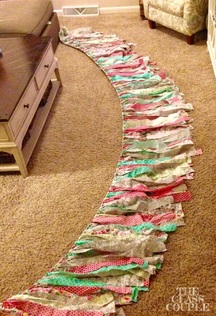
Step 5: Tie ALL the Fabric Strips!
This is definitely the most time consuming part, but don't give up now! It will be worth it in the end...trust me! I suggest finding a series to binge watch on Netflix, enjoying a nice drink, and enlisting the help of your supportive significant other or best friend. Since it is easier to show this step, rather than explain it in writing, check out this super short video I made on how to tie the knots. The only thing you need to be sure of is that you do them all the same way. So if you start with your fabric over or underneath the jute, do that with all of them.
When you are tying the fabric strips, remember that they do not have to be in any particular pattern. I just tried to make sure I had a good mix of dark and light colors throughout the curtain. Since I had gotten more of two of the fabric patterns, I mixed these into the rotation more often than some of the other accent patterns.
Step 6: CELEBRATE!!
Woohoo! You did it! Stand up and stretch, give yourself a pat on the back, and thank your helper! Take a look at the lovely fabric garland you just created!
Step 7: Hang and Enjoy!
I tied big loop knots at the ends of the garland. I also used ceiling hooks and placed them on each end of the window, and slipped the loops on the hooks. For the middle, I also placed a ceiling hook at that spot, and put a binder clip through the middle point of my curtain. The binder clip then hangs on the hook. Here is a quick video on how I made the end loops.
That's all there is to it! Such a simple project, but it made a world of difference in brightening up my classroom!

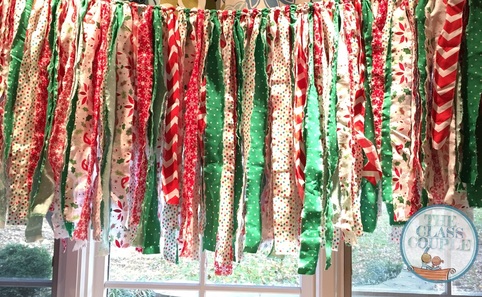
Oh, and don't think that these garlands are just for the classroom! The possibilities are endless! They are perfect for nurseries, kids rooms, holidays, parties, etc. We made a Christmas garland for our kitchen, and also used it in our family pictures for our Christmas cards. (Could that picture be any cuter?!)
|

|
If you decide to make one of these adorable fabric garlands for your classroom or home, be sure to tag me on Instagram! I would love to see it it!

Check out my classroom projects!
http://www.donorschoose.org/Becky.Wimmer
http://www.donorschoose.org/Becky.Wimmer