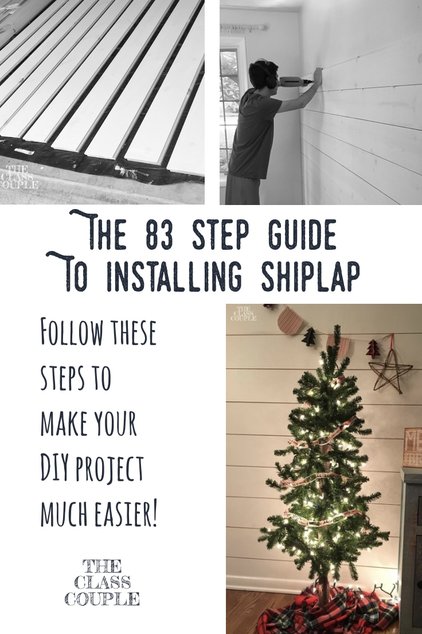
Let me start by saying I am not handy. So, this guide is much more conversational than technically correct. But, I can assure you - no boards have fallen off the wall since last summer, so there is some integrity to my installation. I guess channelling my inner Chip Gaines worked.
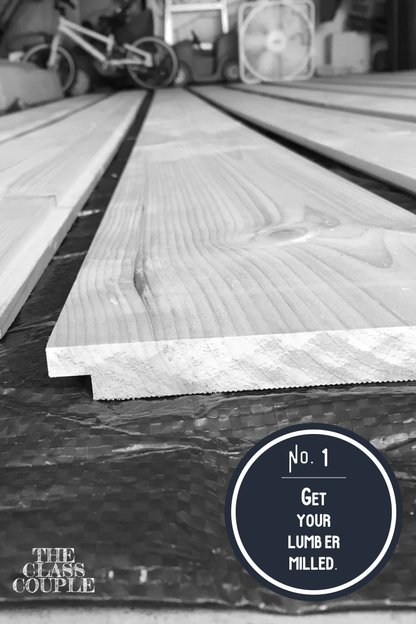
We decided to go with 1” x 8” #2 white pine boards. We got it from a local lumber company who offered to mill it for us. And by mill it, they took the raw white pine board and added the shiplap notches to both the top and bottom of the board. This saved us A LOT of time on the front end of our installation. They also grooved the back of the boards for the wood glue to adhere to the drywall.
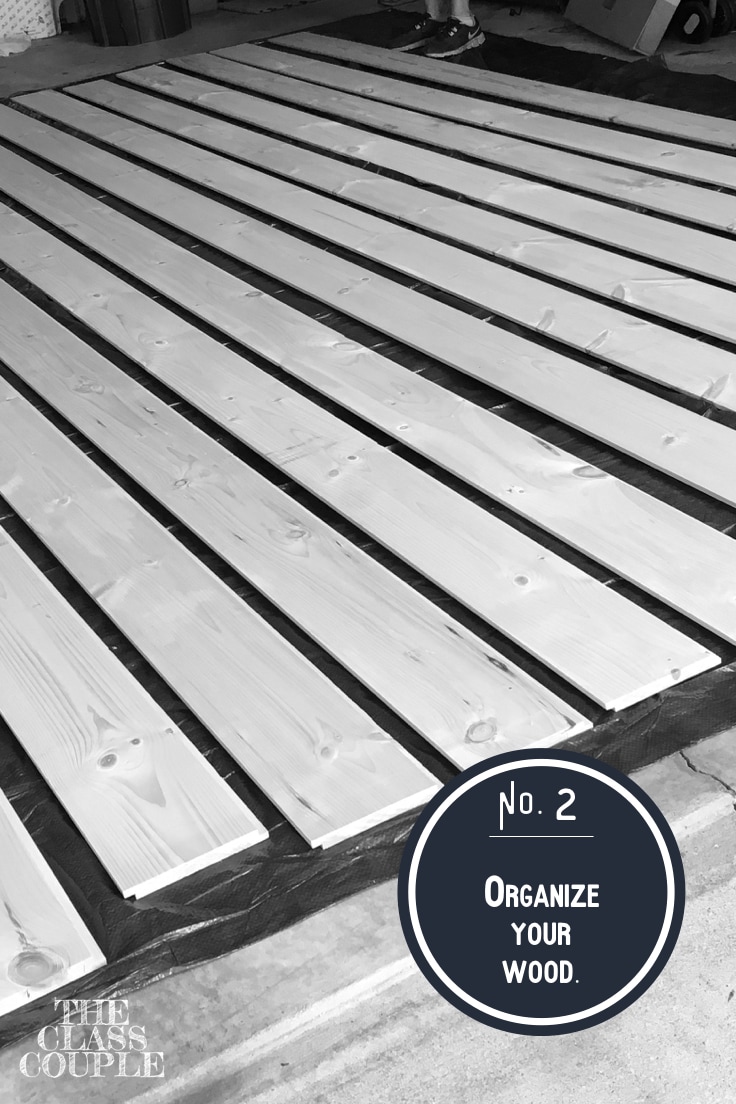
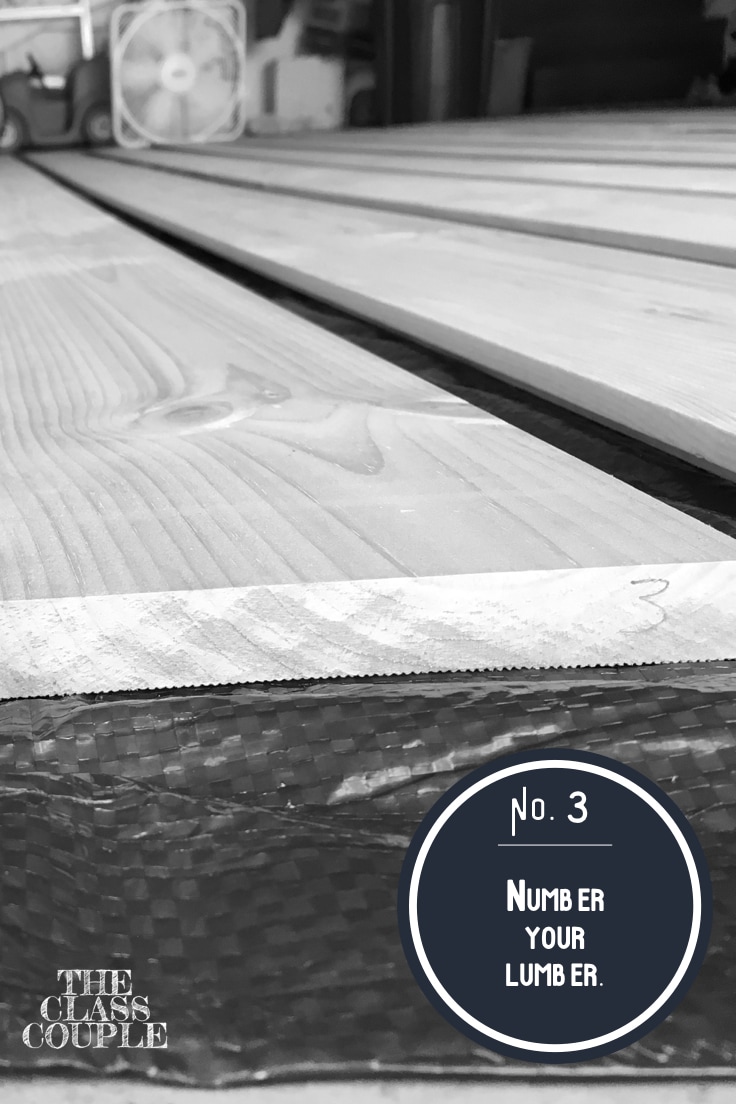
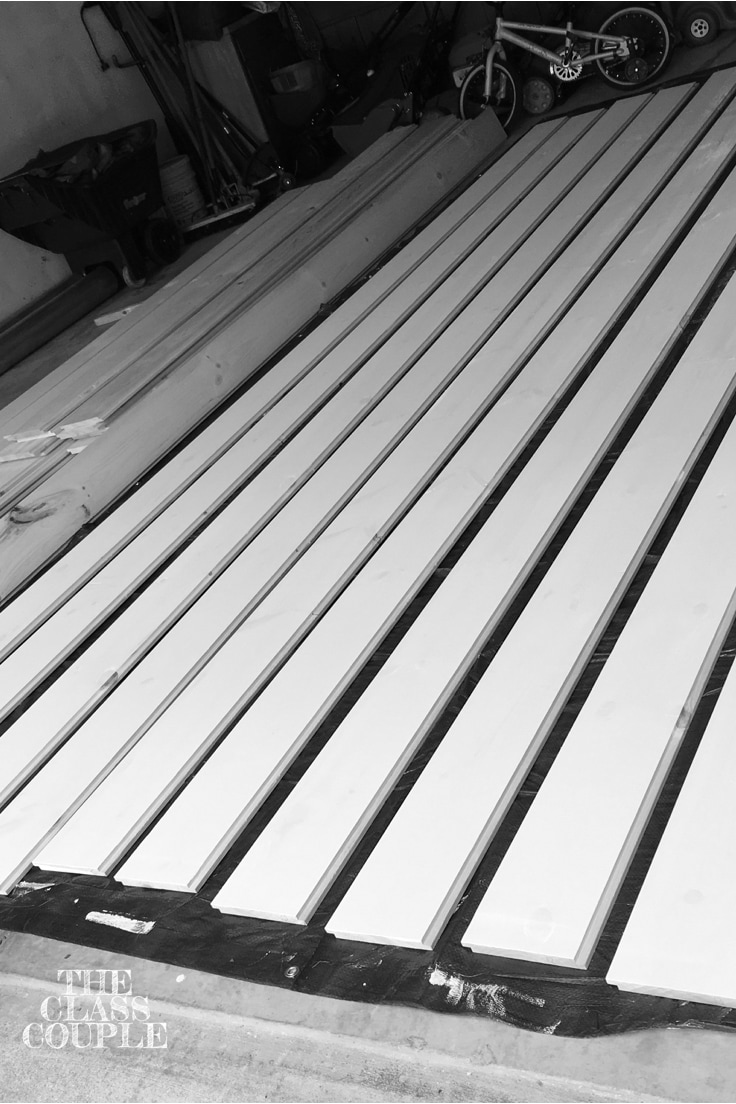
We didn’t realize how much wood was needed for just two walls, but quickly realized we needed to organize the wood before we got started. Each piece had a unique identity - with knots, nicks, and grooves. Even though we were going to paint it, we wanted to purposefully put them in the order we wanted to put them on the wall. By laying them out and then numbering them on the side of the lumber, Becky and I always knew where the pieces were going.
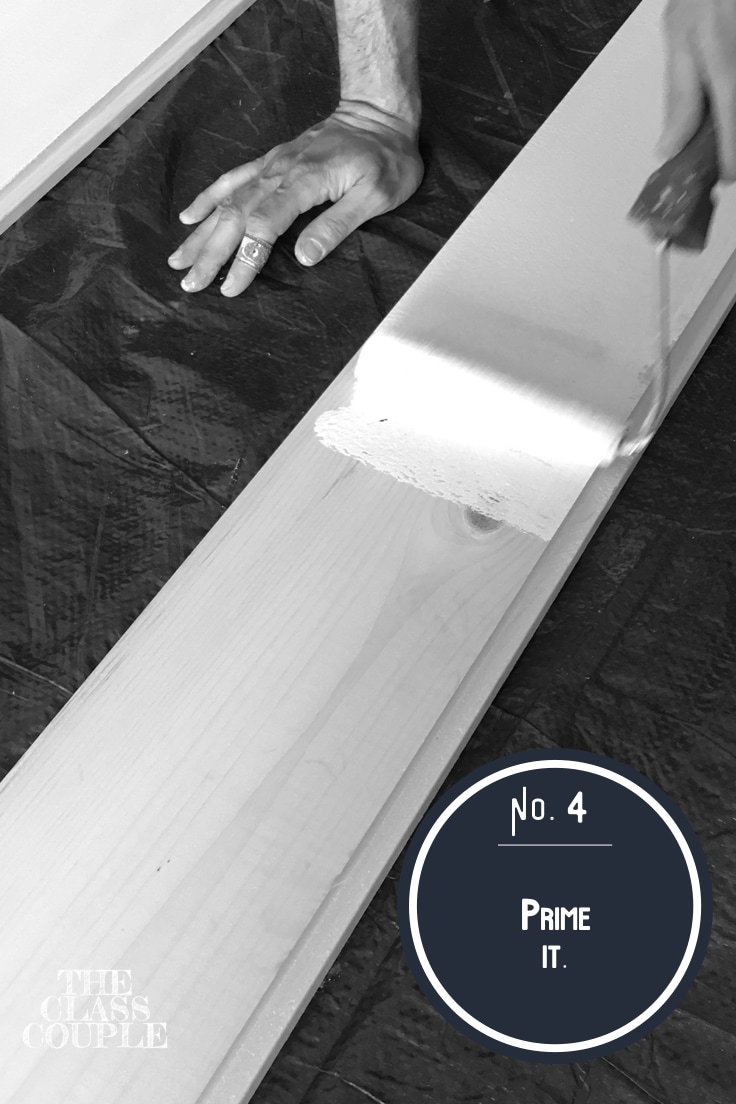
We used a Zinsser oil-based primer for the cut lumber. We were told by the lumber company and some others that this was needed to seal the new wood. I admit, I never used an oil-based paint before. When I opened the can, I thought it had spoiled. “What did I do?” I literally called the company to complain. They laughed and explained it is extremely liquiddy and needed to be thoroughly stirred.
JUST A NOTE ABOUT PAINTING
I painted a lot of rooms, but I never painted shiplap. I did it all wrong. We applied the primer in the garage prior to hanging the boards. We waited to paint the boards until they were hung. We had planned to roll the wall. After painting about three feet of the wall, we realized the paint wasn’t going to get between the gaps in the shiplap.
After a glass of wine, we got our kids’ paint brushes to get between the cracks. That lasted about 10 seconds. I ended up going to Home Depot the next morning and rented a sprayer. After covering EVERYTHING in plastic, it only took about 25 minutes to apply the first coat of paint. After a day of drying, I applied the next coat. It didn’t get in between the cracks perfectly, but it was 100TIMES better than using mini water color brushes.
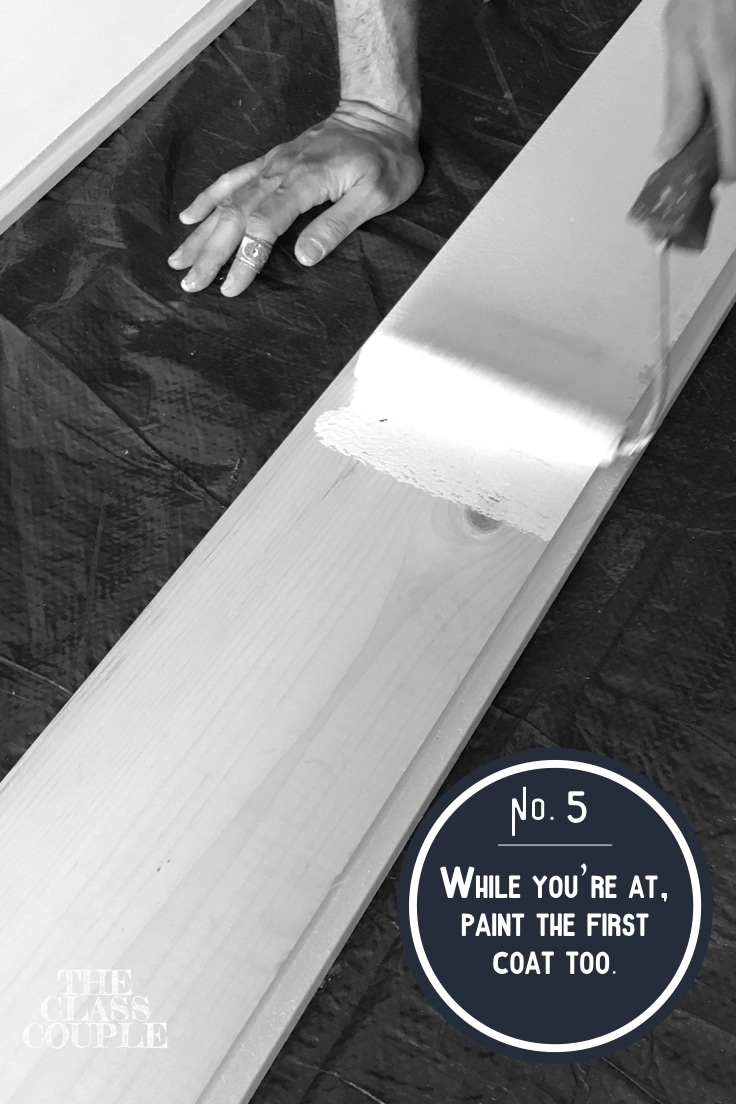
If I were going to do it over again, I would have either rolled or sprayed the first coat before hanging the boards. Once hung, I would roll on the final coat (after you filled each of your finishing nail holes with putty. (More on that later.)
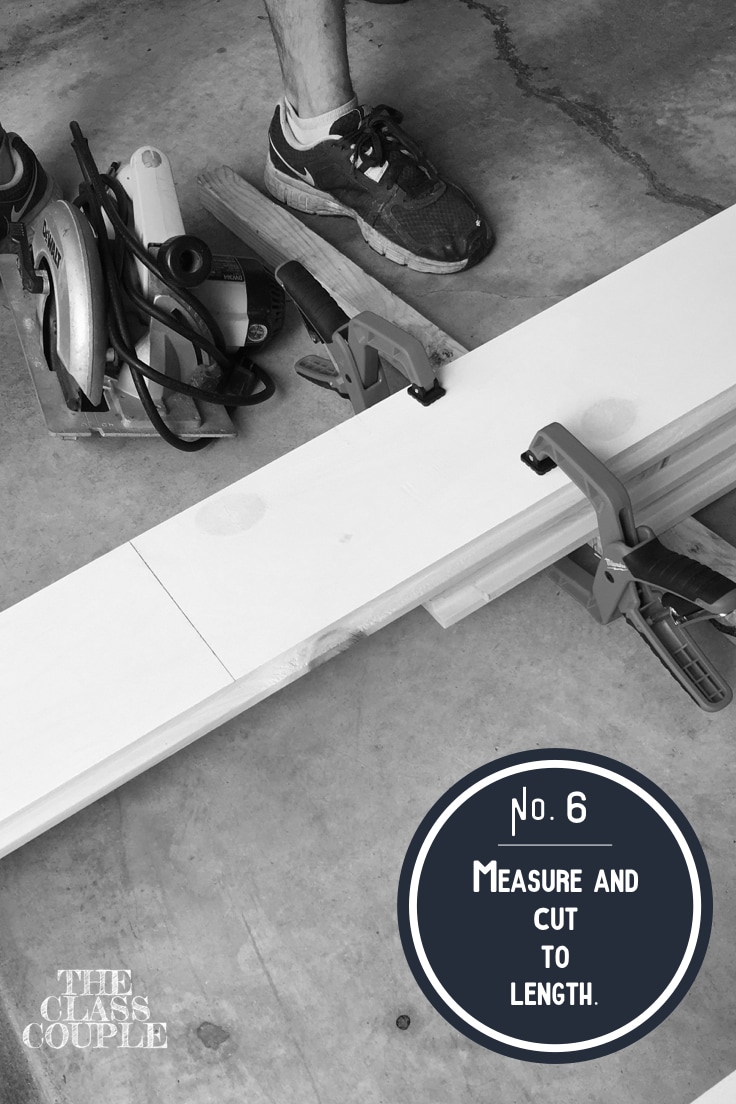
So, once all of the boards were primed (and in future cases, painted in their first coat as well), I measured the wall and cut the first board to length. I was extremely obsessive while measuring the boards. I was worried that there was going to be fluctuations of length as I worked up the wall. And before I cut the board, I also double checked my measurements. The extra 20 to 30 seconds per board gave me a lot of peace of mind.
SAFETY FIRST - I’m not a pro, but I made sure I always had on eye and ear protection while cutting the wood and using the brad nailer.
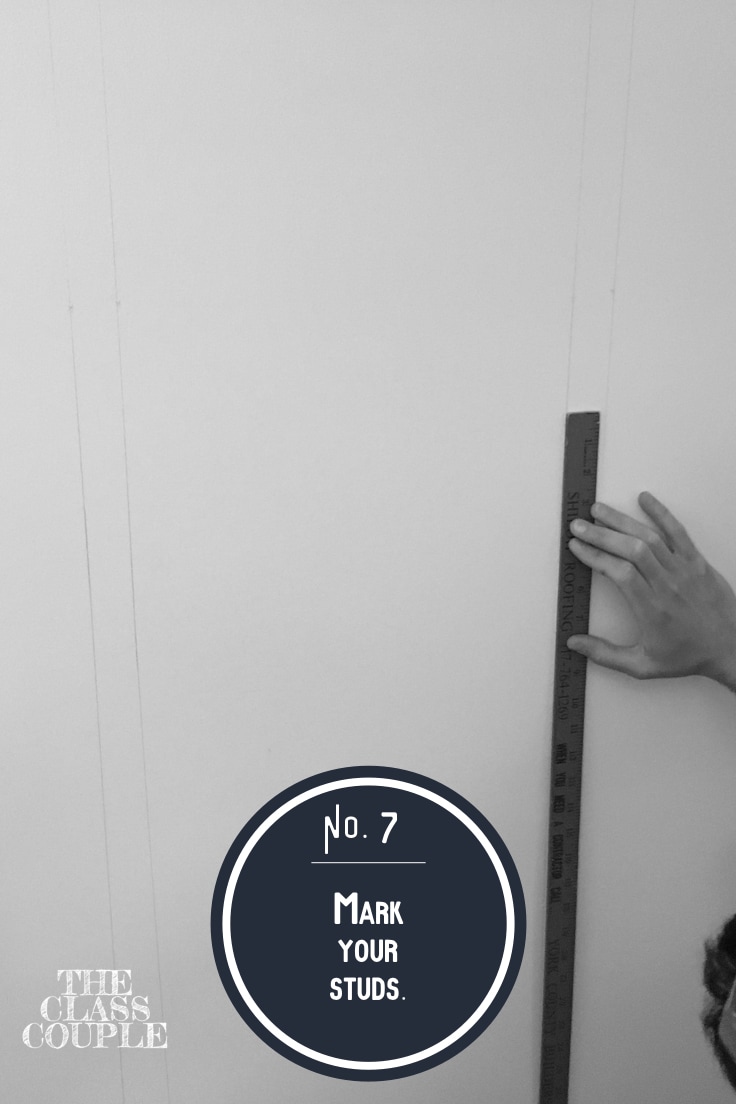
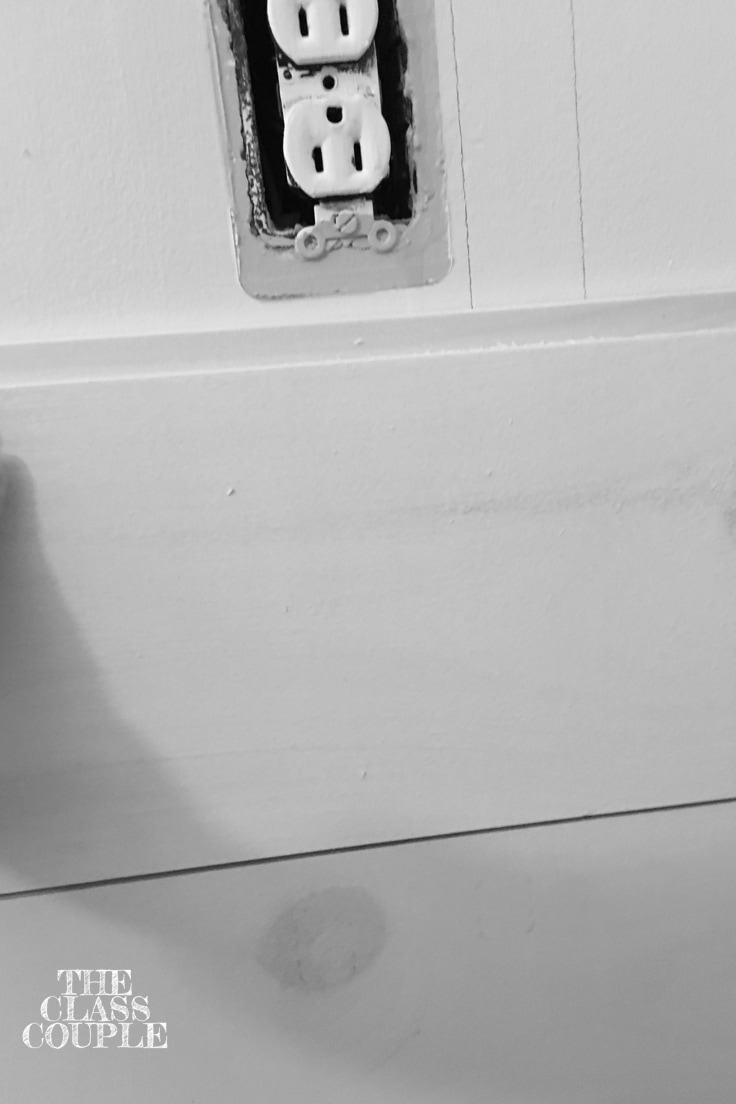
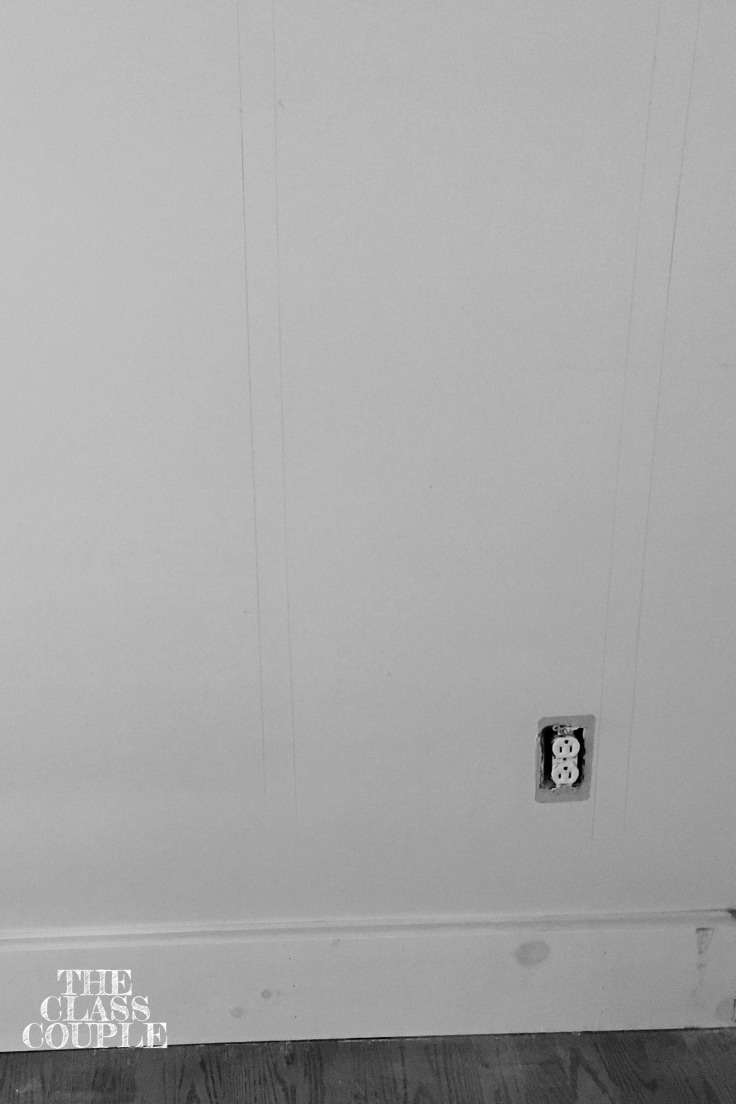
Now the boards were ready to be hung! Oh wait, one more preparation step. Use a stud finder and roughly sketch where your studs are located. This will make it extremely easy when you’re ready for the finishing/brad nailer.
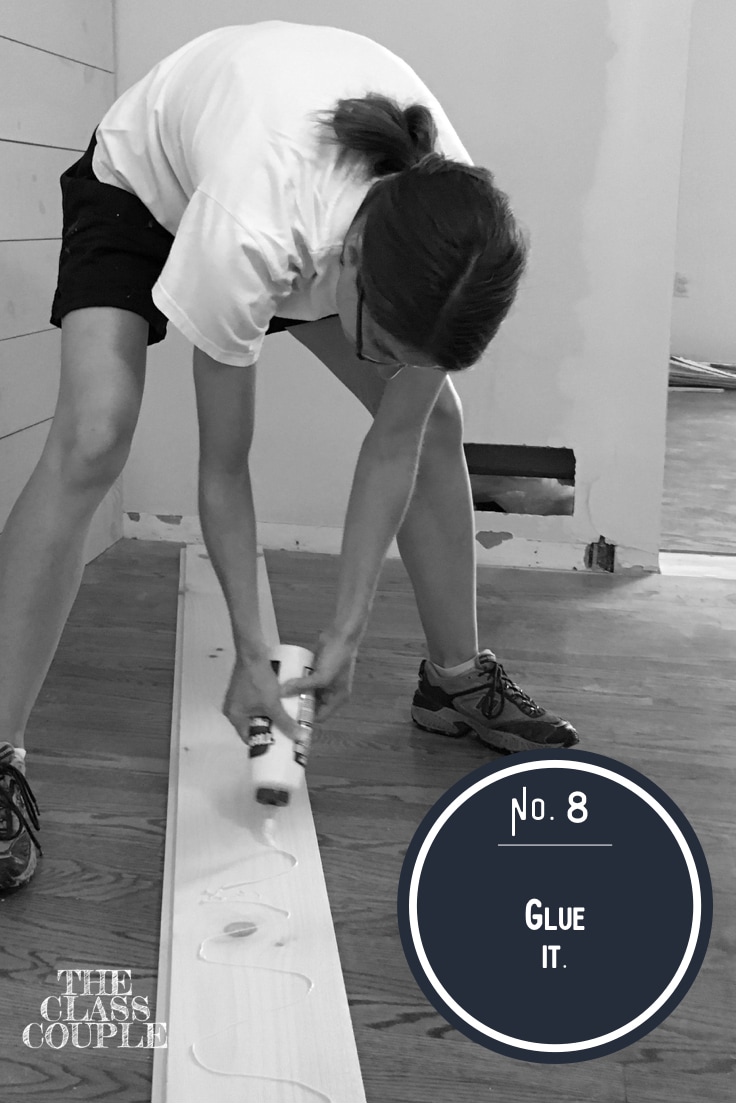
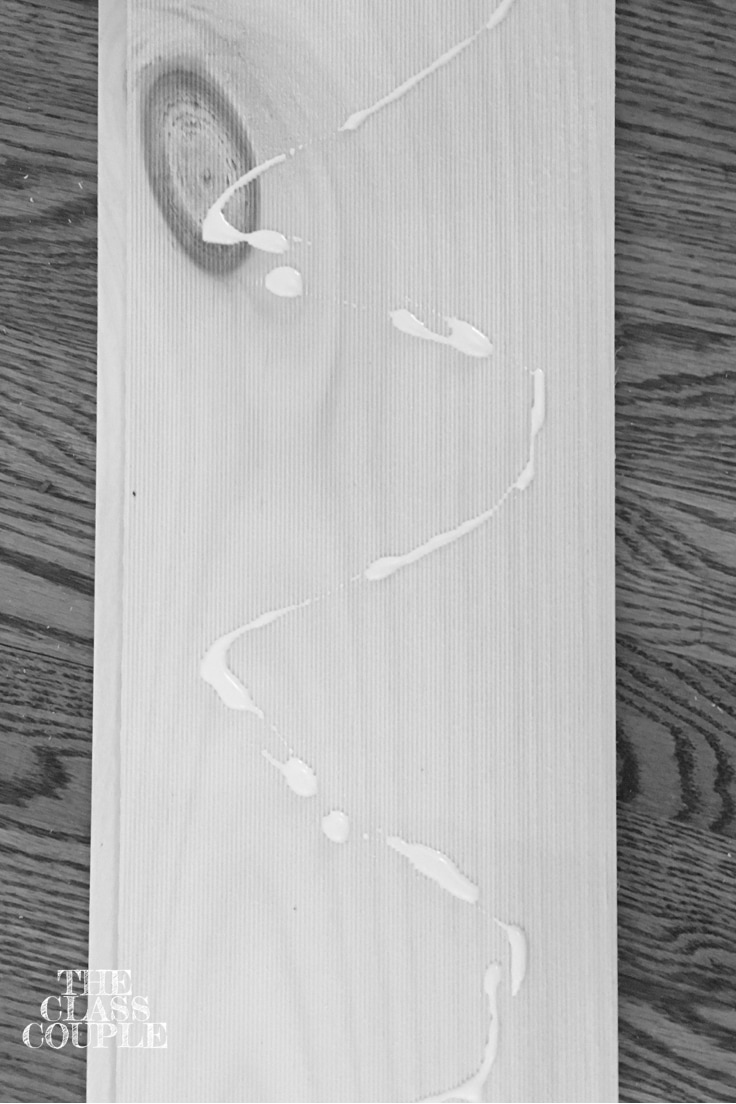
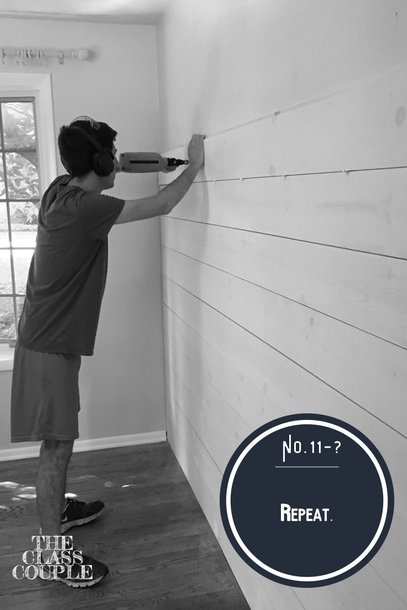
Now for the exciting part! Once your board is aligned, and you’ve check that is level, you’re ready to glue the back of the board. Once it was glued, we lined the first board against the wall. Check again that it is level - and don’t trust that your floor is level. Check along several parts of the board before you begin to nail it to the studs. We were installing 14’ boards - you’ll need an extra set of hands!
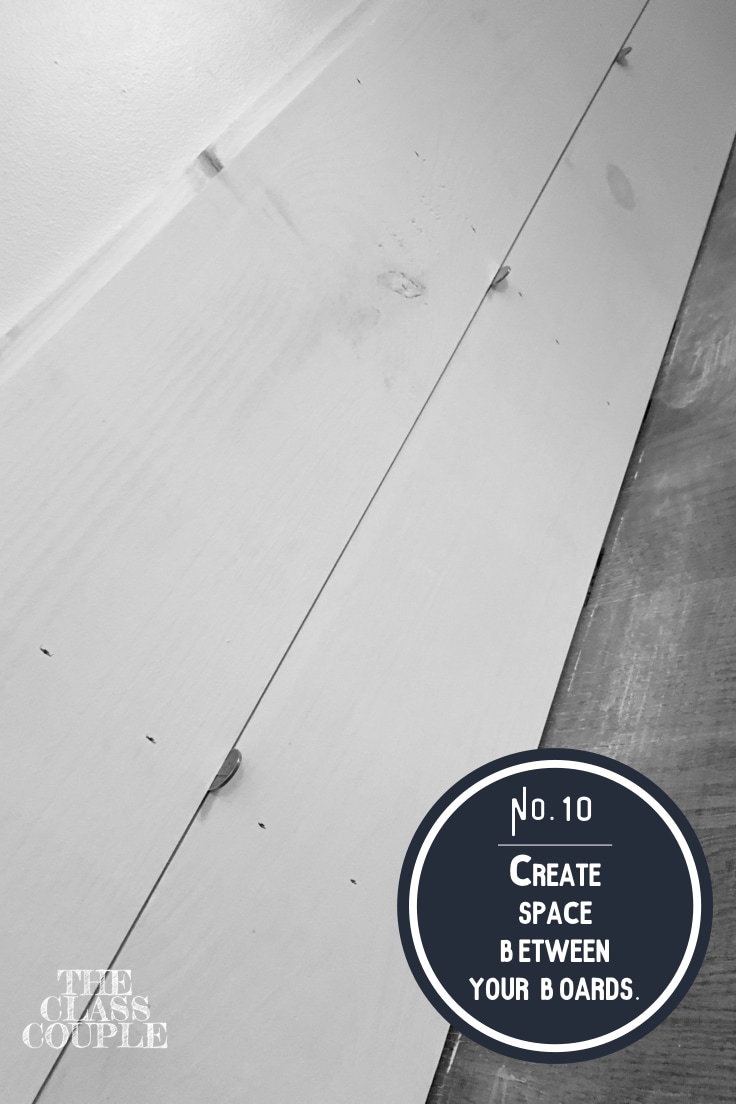
Also, notice how the shiplap notch is lined up on the wall. It seemed a bit counter-intuitive to do it this way, but every source I checked said it needed to be this way. When you’re ready to install the next board, you’ll need some nickels to create an even width between the boards. This, my friends, was a huge pain. I learned that all wood boards were not created evenly. Along a 14’ run, we couldn’t necessarily hold the board even, place nickels between the boards, and begin nailing. I was never so frustrated with Thomas Jefferson.
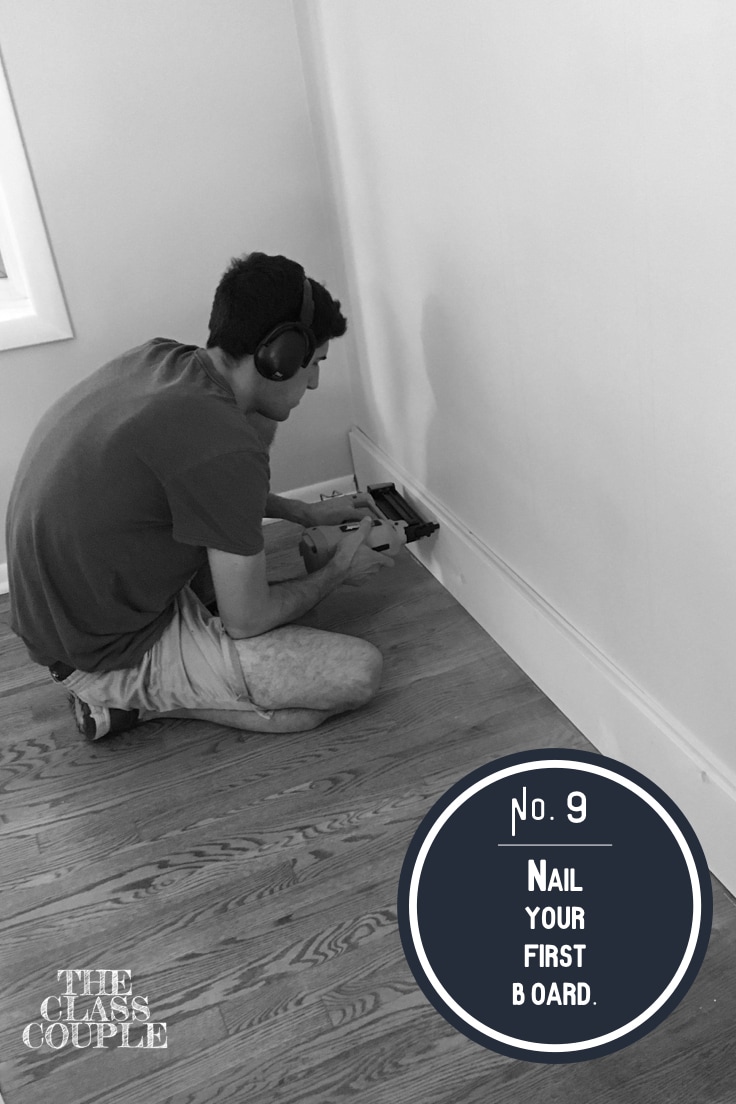
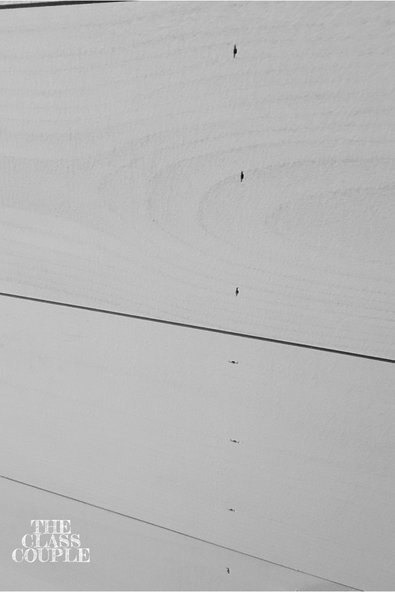
At this point, it’s simply just repeating the steps until you get to the top of your wall. We used a battery powered brad nailer with 2” nails. For the 8” board, I did 3 nails at every study along the run. We found out later that we needed to fill every single hole with a wood filler. OMG! Obviously it needed done to look right, but I think we went through 4 tubes of that stuff.
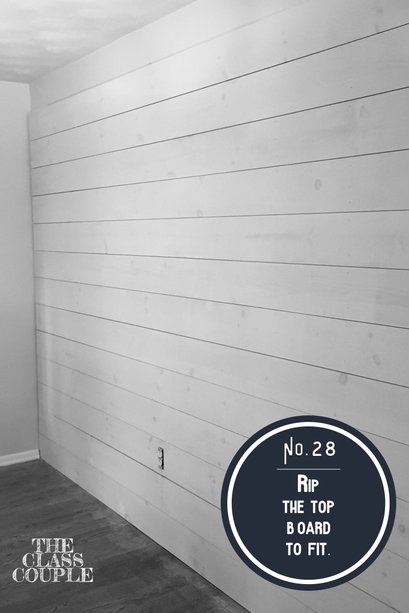
You may have to make cuts for electrical outlets or rip the top board to fit it appropriately. For the electrical outlet, make your measurements and draw the height and width of the interior box measurements. I drilled a hole in the middle of the box, and then used a jig saw to make the cuts. Also, you’ll need these thingys as a spacer for your outlet screws.
If you’re ripping the top board, I made do with what I had. I determined the width I needed and then used the jig saw to make the cut. Yes, I drew a 14’ line and then made my cut. I knew that this was going to be covered by trim, so I wasn’t too concerned about beautifulness of the cut. Of course, I added a quarter round trim on each side and a more decorative trim at the top. You can decide how you want it to look.
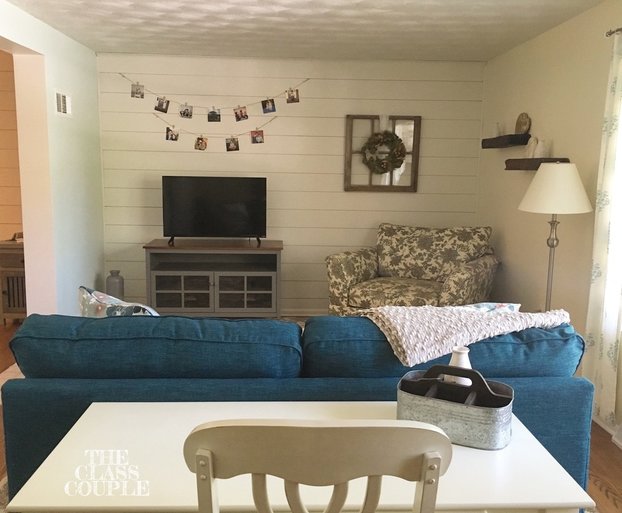
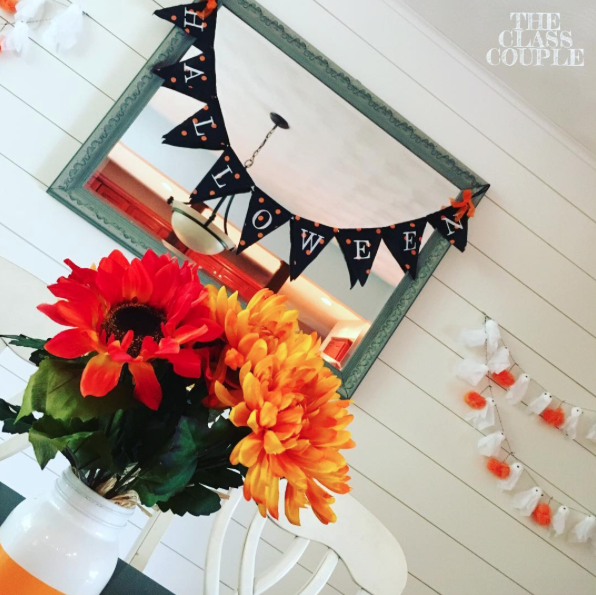
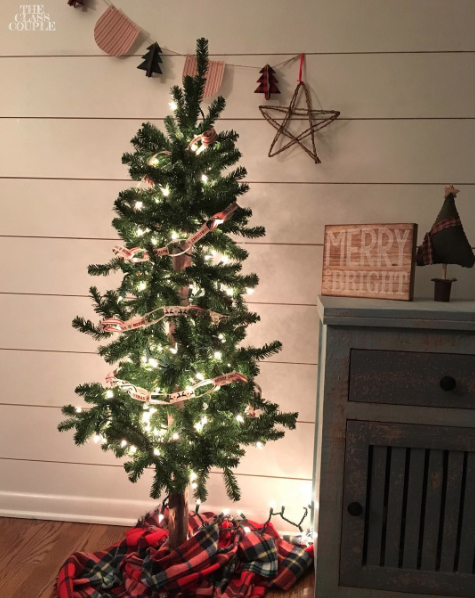
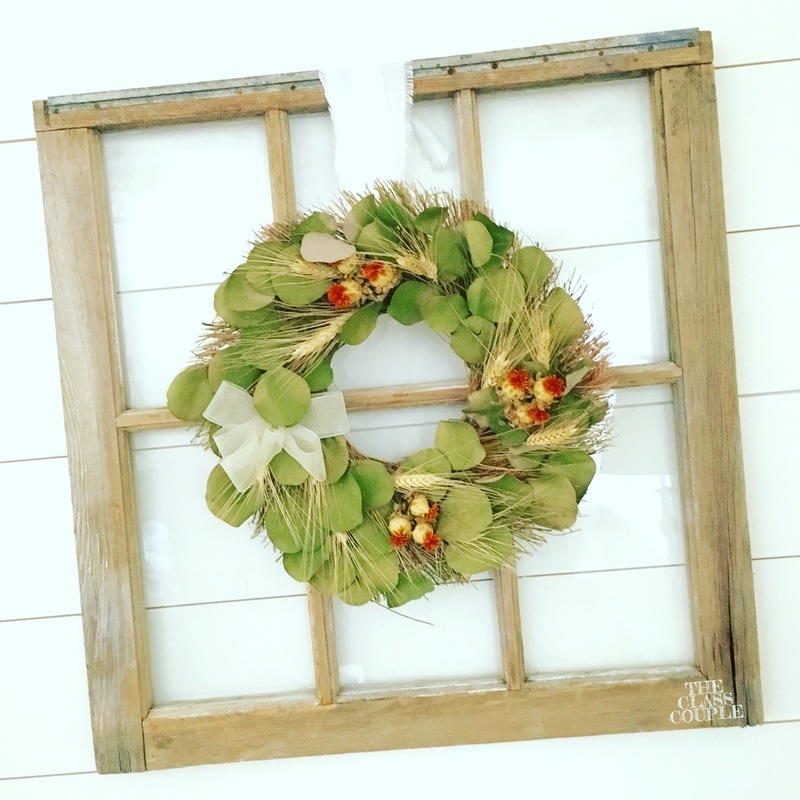
Either way, I’m sure you’re new wall is going to look amazing! Just measure a million times and have some fun! Here are a few pictures of our wall. I hope you enjoy wall as much as we enjoy ours!
Either way, I’m sure you’re new wall is going to look amazing! Just measure a million times and have some fun! Here are a few pictures of our wall. I hope you enjoy wall as much as we enjoy ours!
